Our Products
Showing all 9 results
-
2018+ Breakout Tag Mount
$95.00 -
2018+ Fat Bob Tag Mount
Sale! Original price was: $120.00.$95.00Current price is: $95.00. -

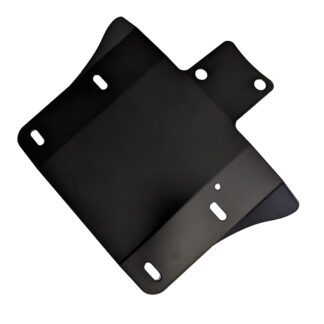
2018+ Indian Scout Bobber Tag Mount
$120.00 -
2022+ Indian Chief Tag Mount
$130.00 -
2018+ Street Bob, Softail Slim and Standard Tag Mount
Sale! Original price was: $120.00.$75.00Current price is: $75.00. -
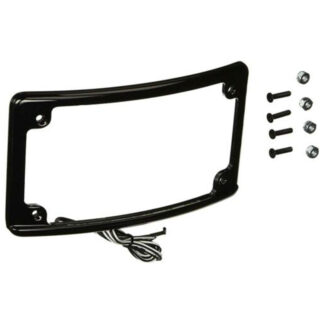
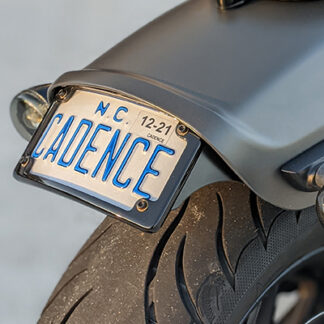
Black Curved Motorcycle Plate Frame with LED Illumination
Sale! Original price was: $45.00.$35.00Current price is: $35.00. Add to cart -
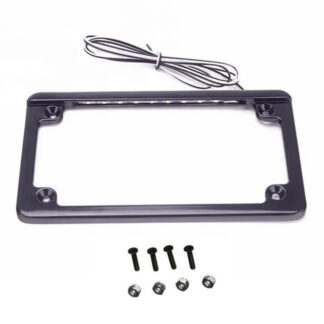
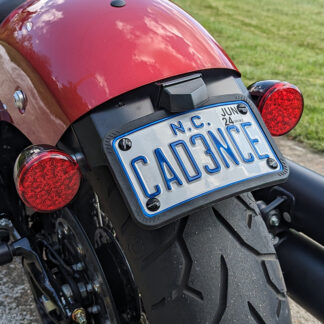
Black Flat Motorcycle Tag Frame with LED Illumination
Sale! Original price was: $45.00.$35.00Current price is: $35.00. Add to cart -

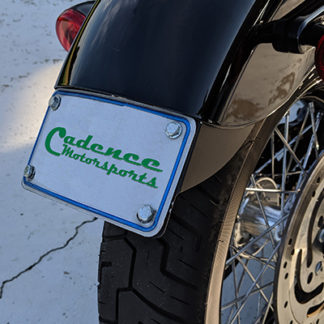
Black Rubber Tag Frame
$12.00 Add to cart -
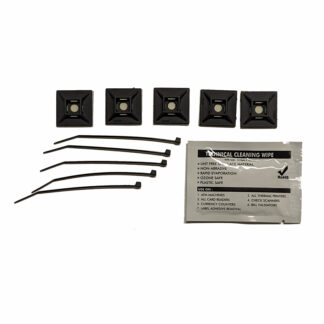
Wiring Zip Ties and Mounts
$5.00 Add to cart
Showing all 9 results