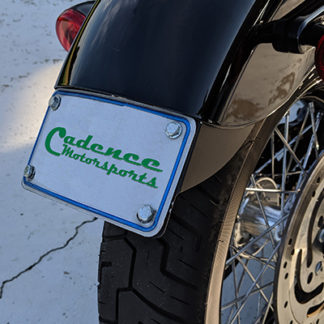
This page describes the steps required to install the Custom Dynamic Knight Riderz LB03S flashing brake light on a 2018 Harley-Davidson Fat Bob. The LB03S is an 4.5″ long x 0.7″ wide x 0.7″ high LED brake light strip with a smoked lens color that flashes for a few beats when the brake light is pressed, then remains on solid while the brakes are pressed.
Click here for specs and to order the Custom Dynamics Knight Riderz LB03S flashing light directly from Custom Dynamics.
The idea is to install the LB03S light place of the rear reflector using the stock plastic reflector mount. So first remove the stock reflector from the stock plastic mount. The reflector is stuck to the plastic mount with double sided tape, so removing the reflector is as simple as prizing the two pieces apart.
Once apart, remove all of the tape from the stock reflector mount and clean it well.
Find the center of the mount and drill a small hole for the tail light wiring.
Feed the tail light wire through the hole.
Cover the tail light wiring with heat shrink or other suitable wiring protection.
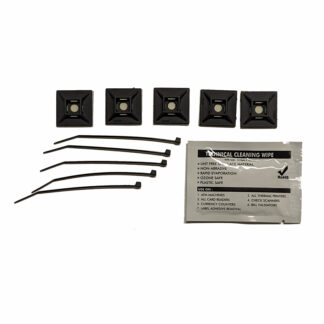
The tail light wiring will be mounted along the top of the fender using stick-on tie-wrap mounts that was purchased from Radio Shack.
The tail light wiring was tie wrapped across the top of the fender. Notice that at the end of the fender where the wiring passes under the fender, the wiring is run through a piece of tubing. This will keep the wiring from chaffing against the fender. Resisted the urge to run the wiring through the slit in the fender. If you do so, it will be necessary to disconnect the wiring if you needed to remove the fender.
NOTE: You may also route the wiring on the outside of the fender through the stock fender mount channels but to do so will require a hole to be drilled through the fender. If you are uncomfortable making that modification, seek the assistance of a professional technician.
Next connect the tail light wiring to the bike. The red wire is connected to the blue/red wire on the long black connector. Then the blue wire is connected to the blue, and black wire connected to the the black on the smaller black connector.
After the wiring and testing has been completed, stick the tail light to the stock reflector bracket using double sided tape.
Once done, you should have a functioning flashing brake light!
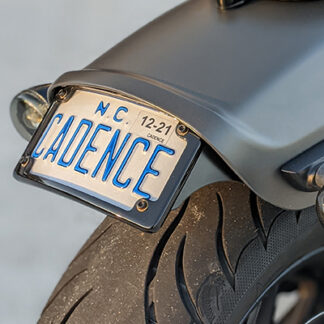
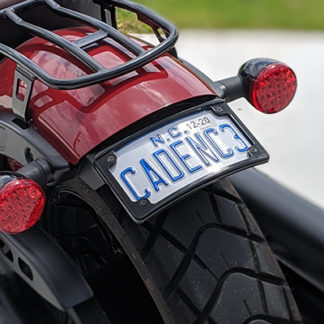
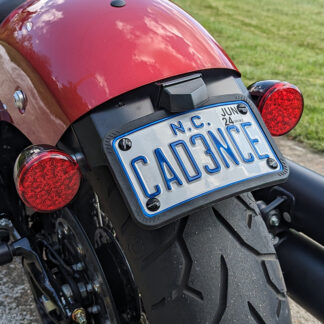
Here is the flashing tail light installed with our tag relocation mount.